Creating and Editing Risks (Data Center)
This page describes how to create and edit risks, and also how to record risk treatments.
Creating a Risk
You can create a risk by selecting the Create button at the top of the Jira screen and then selecting an issue of type risk. The risk creation screen appears. Alternatively, you can add risk information to any existing issue, regardless of the issue type, provided you have enabled slider controls in the settings screen. Open up the specific issue, click on the “More” menu, and then click on “Assess Risk”. The risk assessment panel will appear.
Assuming you are using the default risk screens, the following options are available:
Summary
The name of the risk and is displayed in the risk register.
Description
Contains additional information about the risk.
Impact
The initial impact of the risk if realized, before any treatments have been applied. The values available in this drop-down box are defined in the settings page. See Administering the Application.
Probability
The initial probability of the risk being realized, before any treatments have been applied. The values available in this drop-down box are defined in the settings page. See Administering the Application.
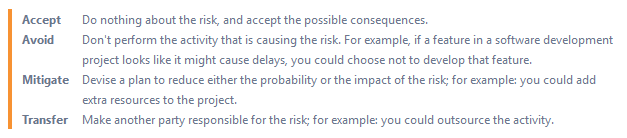
Treatment
The strategy used to treat the risk. The available options are:
Treatment Plan
Describes the selected treatment option in detail.
Contingency Plan
Describes what actions are to take place in the event of the risk being realized.
Realization
Indicates if the risk has been realized or not.
Editing a Risk
Once you have created a risk, you may view and edit it by selecting the risk on the risk register. See Viewing Risk Registers and Matrices.
The default risk view screen has many of the standard Jira fields and buttons. It also includes the risk assessment panel, with these options:
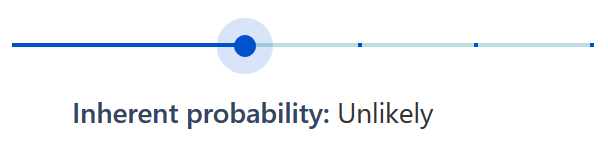
Inherent probability
This is the initial probability of the risk being realized, before any treatments have been applied.
Inherent impact
This is the initial impact of the risk if realized, before any treatments have been applied.

Exposure
This is calculated using the risk model defined on the settings screen (see Administering the Application), and is based on the inherent probability and impact.

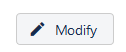
Modifying the values
You can modify the values by clicking on this button in the risk assessment panel.
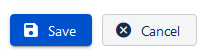
Upon completing your changes you must click the Save or Cancel button.
Risk register
Press this button to open the risk register and matrix page (see Viewing Risk Registers and Matrices).

Specifying Residual Risk
The application allows you to specify the residual risk, which is the level of risk after treatments have been applied. Please note that when you do not specify the residual risk, it defaults to the inherent risk values in the register and matrix view.
Specify residual exposure
This switch enables you to set a residual level of risk. It makes the residual probability, impact, and level of risk fields appear.

Residual probability
This is the probability of the risk being realized, after any treatments have been taken.

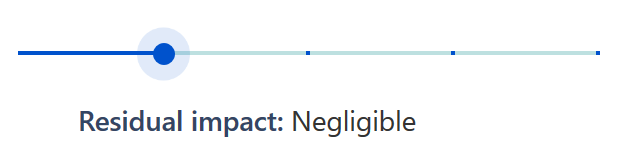
Residual impact
This is the impact of the risk if realized, after any treatments have been taken.
Residual Exposure
This is calculated using the risk model defined on the settings page (see Administering the Application), and is based on the residual probability and impact.

Recording Treatments
You can record treatment information on the risk itself when you create or edit the risk. The treatment then appears on the risk screen.

There is an alternative. You can specify a separate issue as a treatment plan and then link it to the risk using the standard Jira linking functionality. This will cause the treatment to appear in the risk register (see Viewing Risk Registers and Matrices). Follow these steps:
- Enable risk treatments in the settings page (see Administering the Application).
- Create a Jira issue to represent the treatment. Task is commonly used for this, but any Jira issue type is fine.
- From the risk view page, click on the More menu and select Link.
- In the Linked Issues panel, choose the treatment link you specified in step 1, and the issue you created in step 2.
