Administering the Application (Data Center)
You probably wish to customize the application for your organization. This is accomplished through several administration pages.
Accessing the Administration Pages
Select the gear-shaped icon in the top right hand corner of the screen and then select Manage Apps. The Risk Register application menu appears in the left-hand navigation panel with these links:
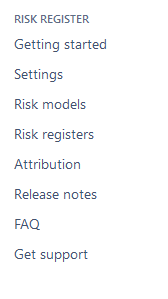
Each link is described below.
Getting started
This page appears when you install the application, and it describes the various steps you must undertake to get started. It is primarily a prompt to remind you to configure the pages described below.
Settings
This page enables you to set up the Jira components necessary to run the application.
There are six tabs:
- Fields
- Issue type
- Screens
- Controls
- Treatment
- Workflow
Each is described below.
Fields
This tab lets you configure the application-specific fields. For a description of each field, see Creating and Editing Risks. Clicking on a field opens the Jira custom field configuration page (see Configuring a custom field).
Issue type
This panel enables you to select which issue type is used to represent risks.
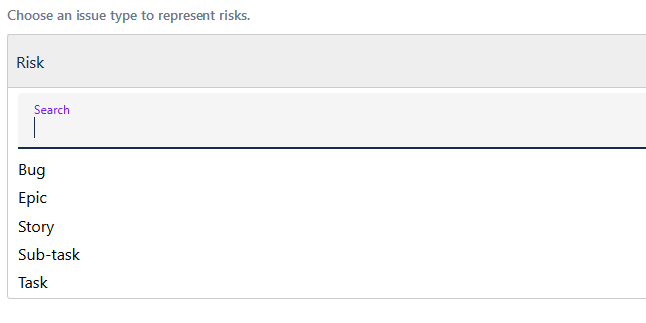
Selecting Create issue type will create a new issue of type Risk. Selecting Manage issue type opens the Jira issue type configuration page (see Adding, editing, and deleting an issue type).
Screens
This panel enables you to define the screens that the application uses for creating, editing, and viewing risks.
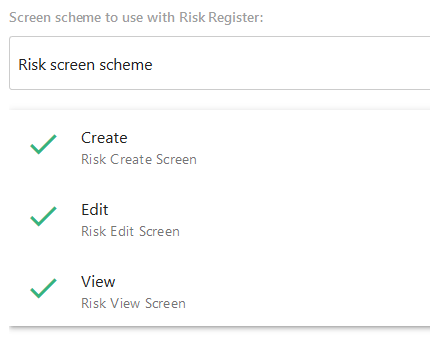
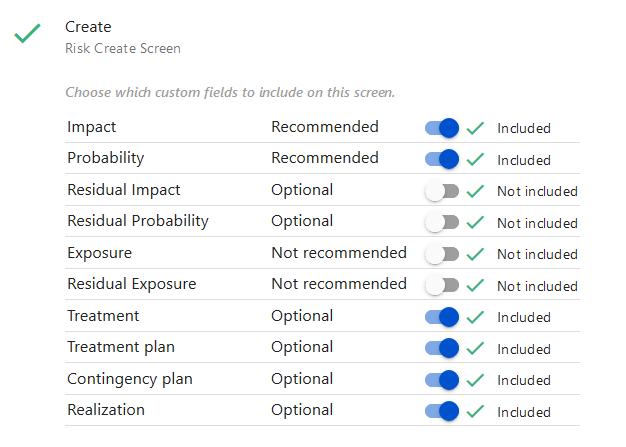
Clicking on Create, Edit, or View reveals a list of fields. Clicking on the associated slider control enables or disables each field for that screen:
Clicking on Configure screen opens the Jira screen configuration page (see Defining a screen).
Clicking on Create screen scheme will create the screen scheme that the applications requires to function correctly. It will not interfere with existing screens. Clicking on Manage screen schemes opens the Jira screen scheme configuration page (see Associating a screen with an issue operation).
Controls
This panel enables you to configure the behavior of certain application controls. The first option determines whether empty cells on the risk matrix are filled with gray or with the appropriate risk color. The second option determines whether Impact or Probability is on the horizontal or vertical axis. Click the Flip button to swap the axes.
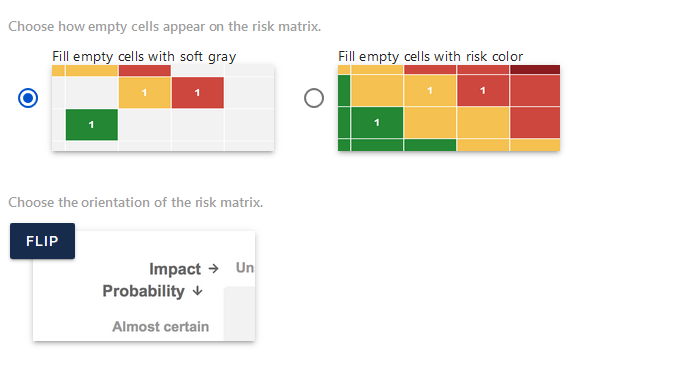
The final option determines whether a drop-down or a slider control is used to specify risk values on the creation and edit screens.

Treatment
This panel enables you to nominate an issue link type that defines how treatments are connected to risks. When this relationship is defined, treatments will appear beneath risks on the risk register page (see Viewing Risk Registers and Matrices). If you select None, then treatments will not appear on the risk register page.
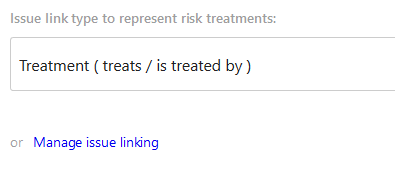
Clicking on Manage issue linking opens the Jira issue linking configuration page (see Configuring issue linking).
Workflow
This panel enables you to select a default workflow type to use with risks. Your administrator will still need to associate the workflow with projects and issue types, but risk register will notify you when you are not using the workflow specified here.
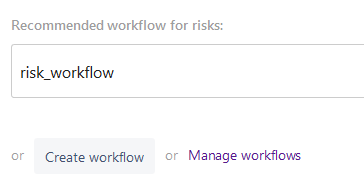
Selecting Create workflow type will create a new workflow that is suitable for use with risk register. We do not recommend you modify this risk-specific workflow as there are certain internal application functions that it triggers.
Selecting Manage workflows opens the Jira workflow configuration page (see Working with workflows). You can use any workflow you wish with Risk Register, including custom workflows you have designed yourself.
Risk models
This page defines the risk models used to assess the level of risk for each risk you create.
The model is in the form of a matrix with axes of Impact and Probability, while the cells define the level of risk. You can create multiple models and assign them to different projects. You delete risk models too, but you must always have at least one available as the "default" risk model.
Model list
The first panel shows a list of all risk models defined in your Jira instance as well as the projects each model applies to. The icon on the right-hand side is a green smiley if your risk model is fine, or a yellow band-aid if it requires attention.
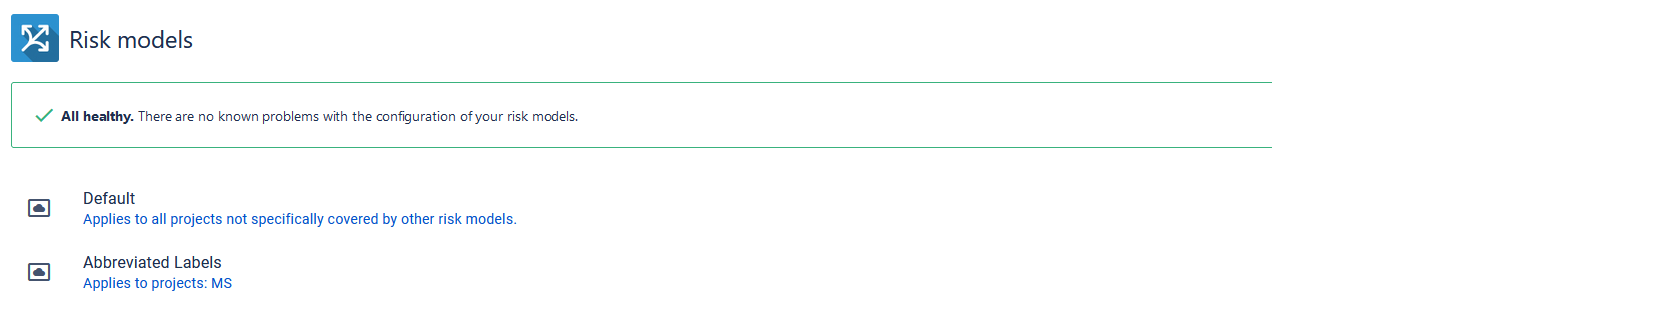
Selecting Run health checks initiates a job that determines if your risk model will work correctly or not.
Selecting Add a risk model enables you to create a new risk model.
Clicking on the risk model name opens the model editing screen.
Model editing screen
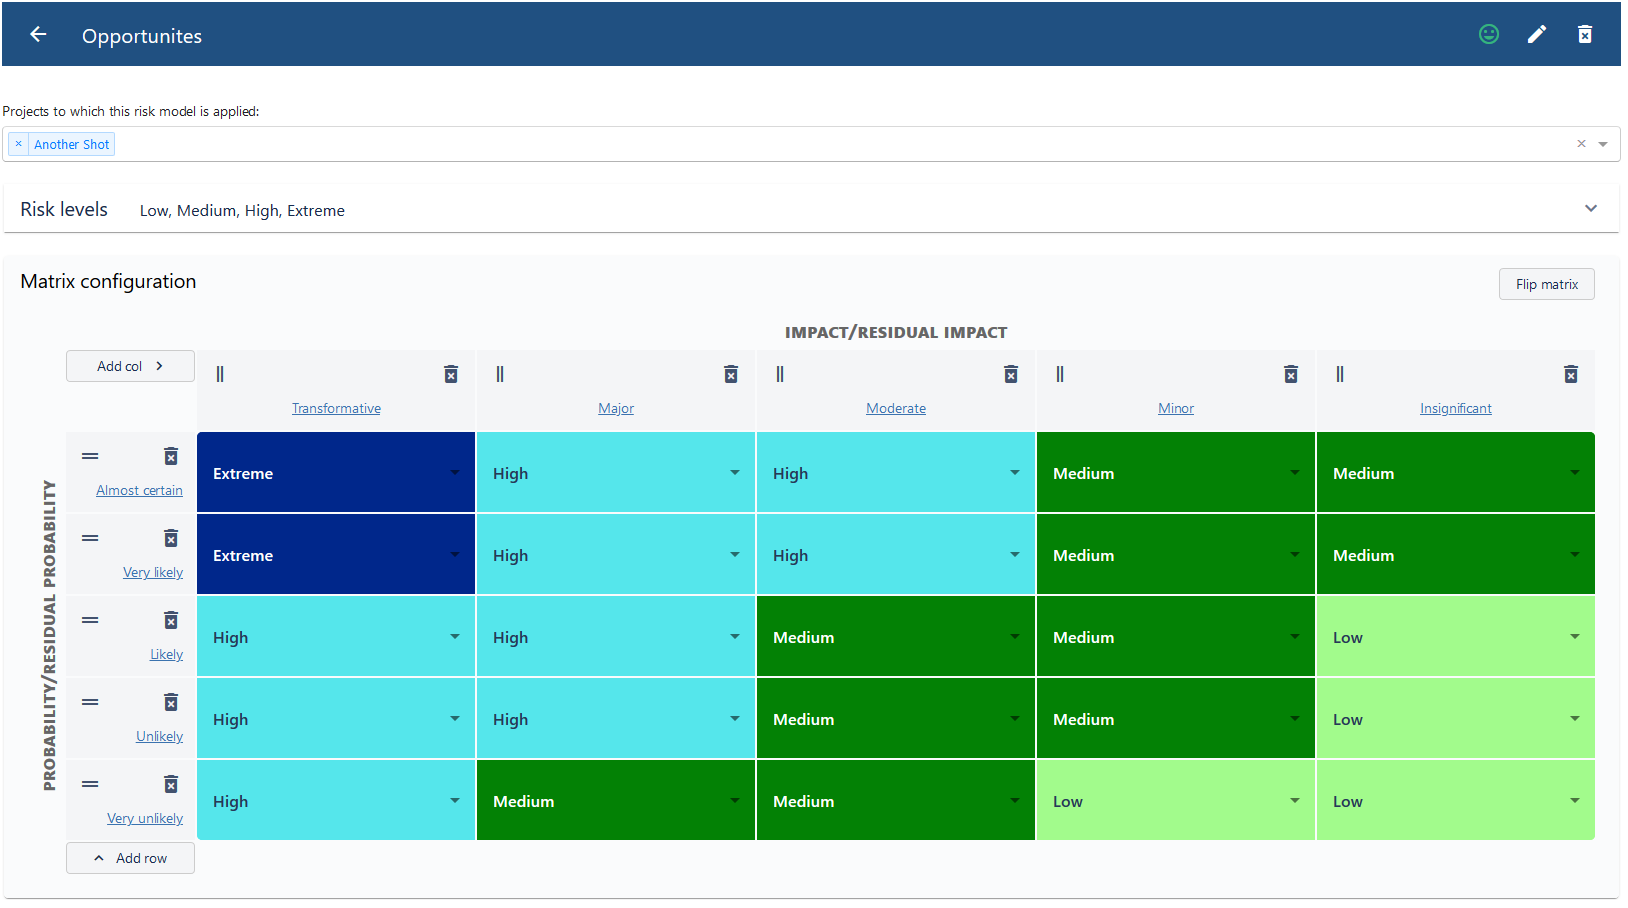
There are several icons on the title bar:
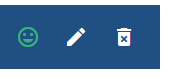
The green smiley enables you to open the health check screen (described further down). The pen enables you to change the title of the model, while the trash can enables you to delete the model.
Applied projects
The line immediately below the model title tells you which project this model applies to.
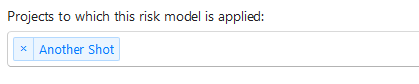
You can add a new project simply by clicking on this line.
You can remove a project from using this model by clicking on the x next to the project's name.
Risk levels
Selecting the Risk levels drop-down shows you the risk levels that have been defined for this model.
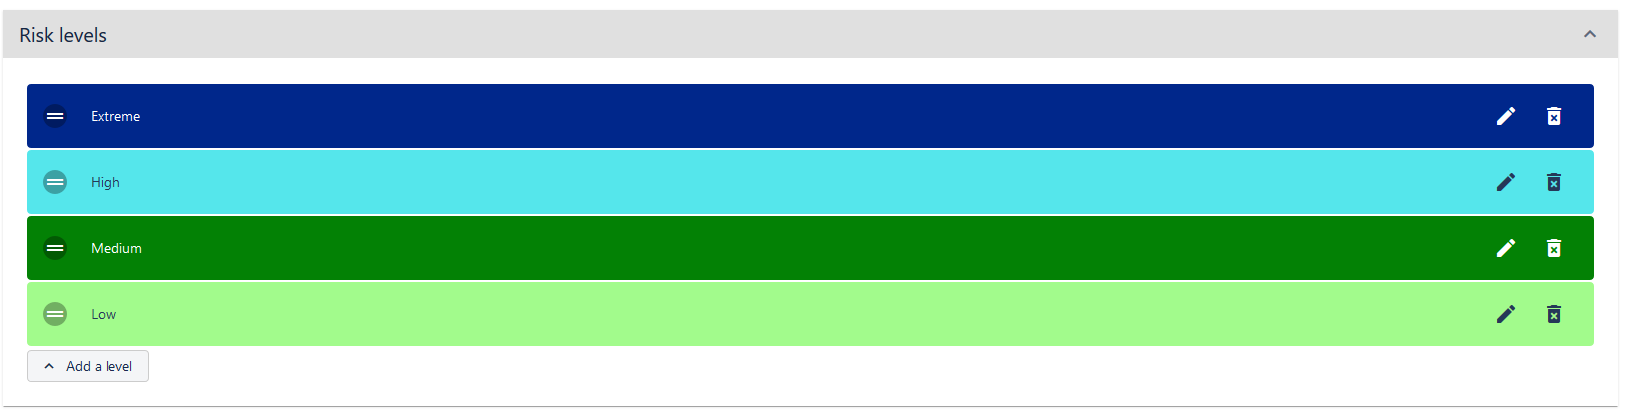
The edit icon  lets you change the risk level name and color. The trash icon
  lets you delete the risk level.
Clicking on Add a level lets you add a new risk level and define its name and color.
Matrix Configuration
This part of the screen enables you to define the matrix itself.
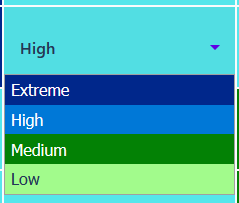
Selecting the drop-down arrow in a matrix cell enables you to change the level of risk for that cell.
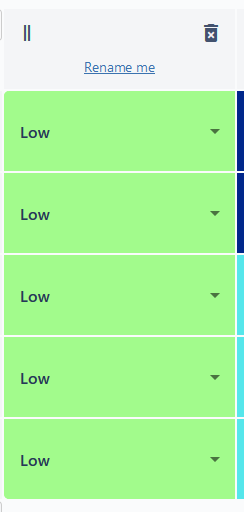
Select the trash can icon  in the row or column header deletes that row or column. Selecting the vertical bars
  or horizontal bars
  enables you to re-order the rows or columns. Click on the row or column titles enables you to change that title.
Selecting Add col adds a blank column to the matrix.
Selecting Add row adds a blank row to the matrix.

Clicking on the Flip matrix button in the top right-hand corner flips the impact and probability axes. This is defined per model.
Health check screen
Clicking on either the green smiley or yellow band-aid in the risk title bar opens the Health check screen.
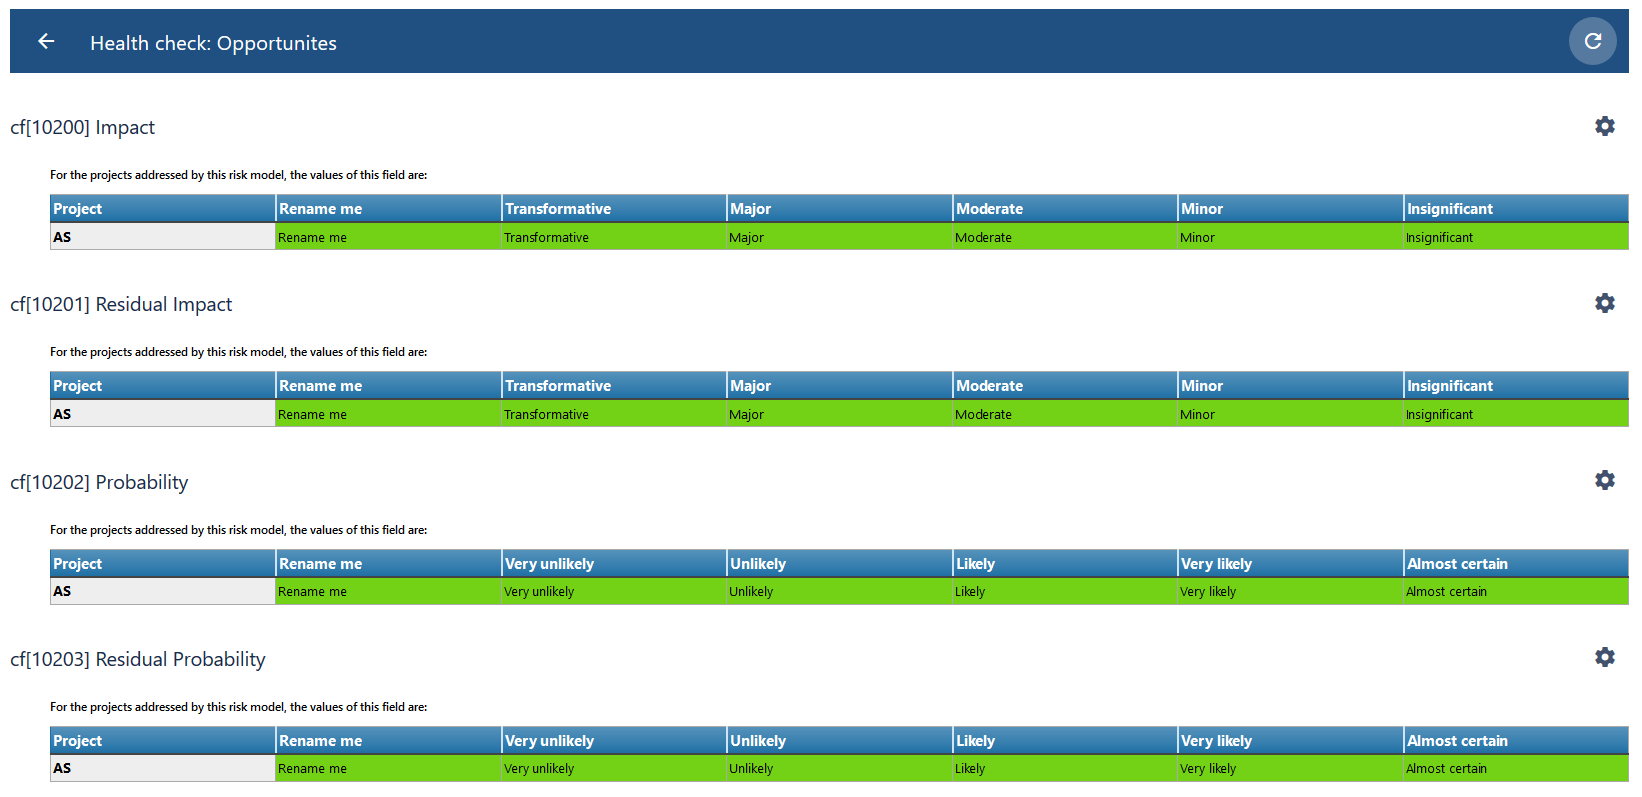
The application depends upon certain custom fields, and this screen shows you if they are configured correctly or not. It is an advanced screen and should only be used by experienced Jira administrators. If there is a problem on this screen, it has most likely been caused by someone modifying the custom fields used by the application.
Risk registers
This screen permits you to add, configure, and remove risk registers.

Attribution
This page describes the third-party software components used by the application.
Release notes
This page provides all recent release notes for the application.
FAQ
This page links to the Frequently Asked Questions list.
Get support
Clicking on this link opens up the ProjectBalm support portal, which allows you to search our knowledge-base and also raise a service request.